Test Suites
With a Test Suite, you can group similar Test Cases.
 |
Currently, it is not yet possible to use Test Suites for data-driven testing. |
| |
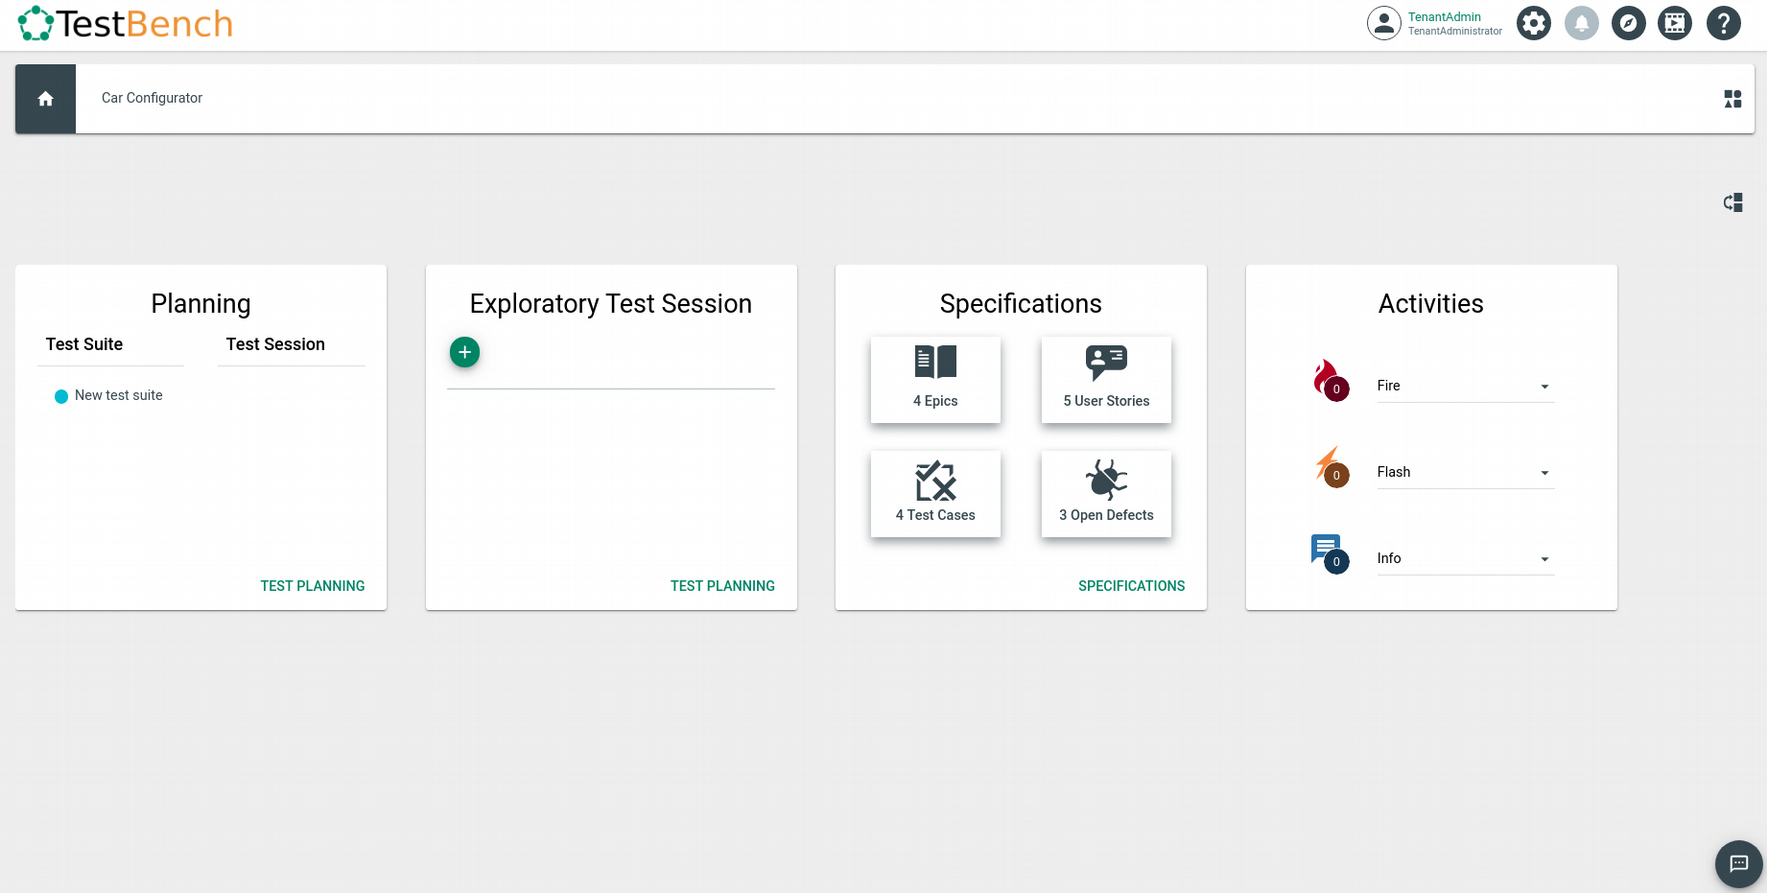
If there are already Test Suites for a Product, they are listed in the "Planning" tile in Product Home. If you click on an existing Test Suites, the detailed view of this Test Suite opens. |
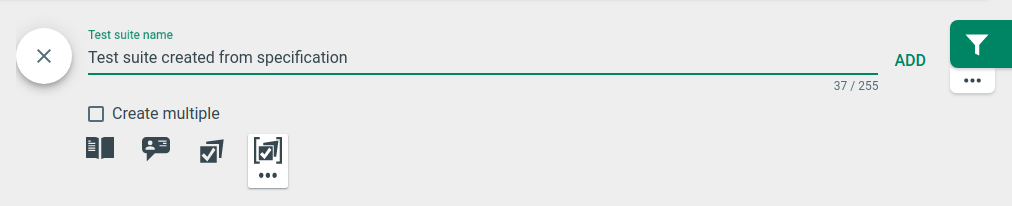
You can also create a new Test Suite from the "Specifications" tile. Additionally, you can add further filter options for the Test Cases. With a click on the plus button, the filtered Test Cases can be assigned automatically in a new or an existing Test Suite. If you choose an existing Test Suite, that specific Test Suite opens.

Sections of the Test Suite detailed view
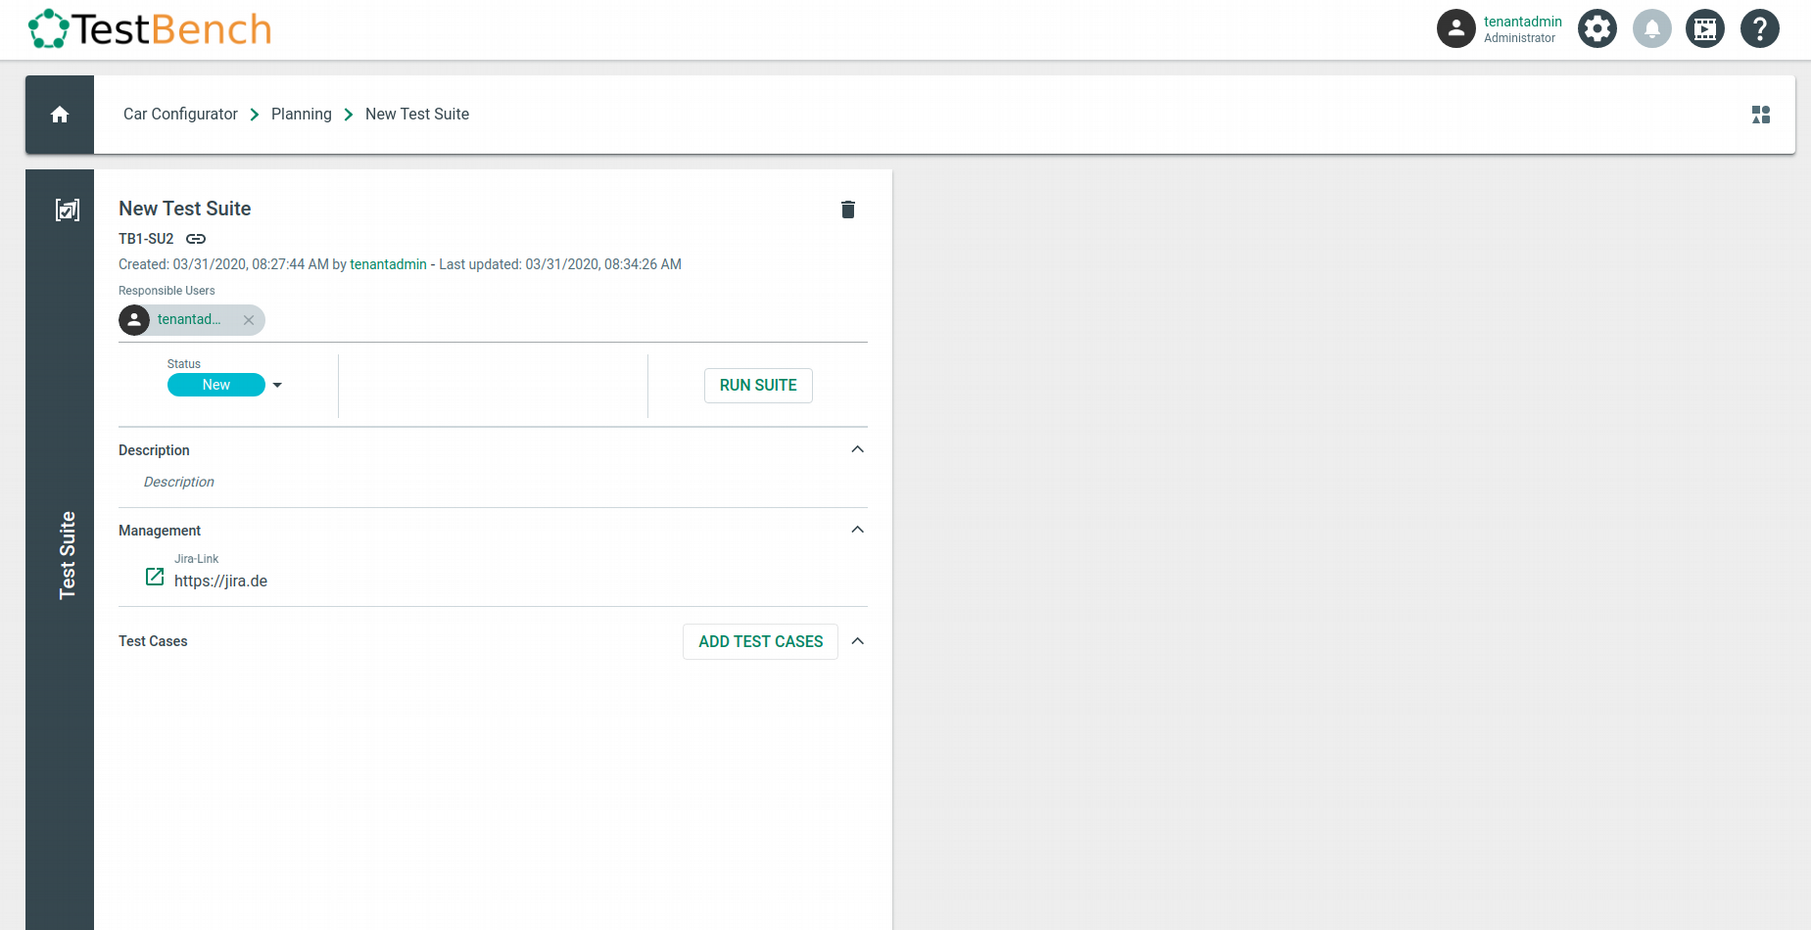
Click on the edit icon or on the corresponding field to edit the name of the Test Suite.
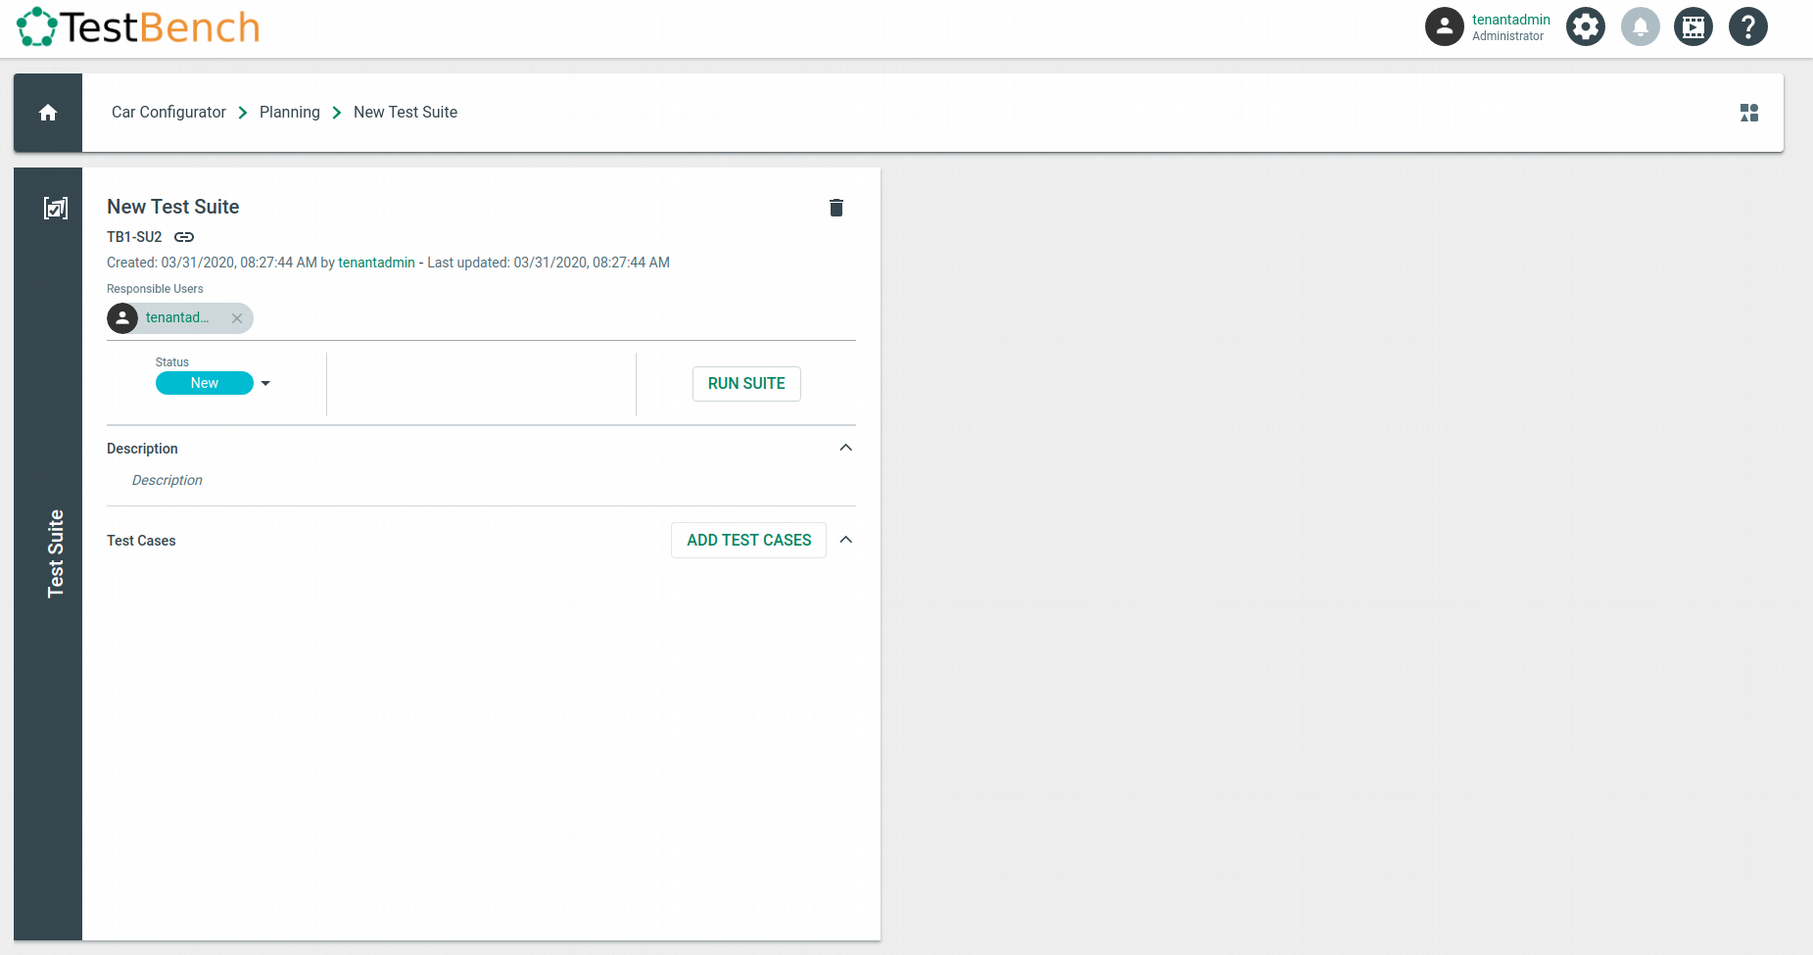
Responsible Users
Here you can add responsible users to the Test Suite. Click on the corresponding area. You see a list of all users with the correct rights for the Product. Select one or more users with a click on their name.
Status
In this section, there are three columns.
On the left side, you can see the status of the Test Suite. To change the status, click on the status pill. A drop-down list opens, where you can select the following status: New, Active, Inactive, or Completed.
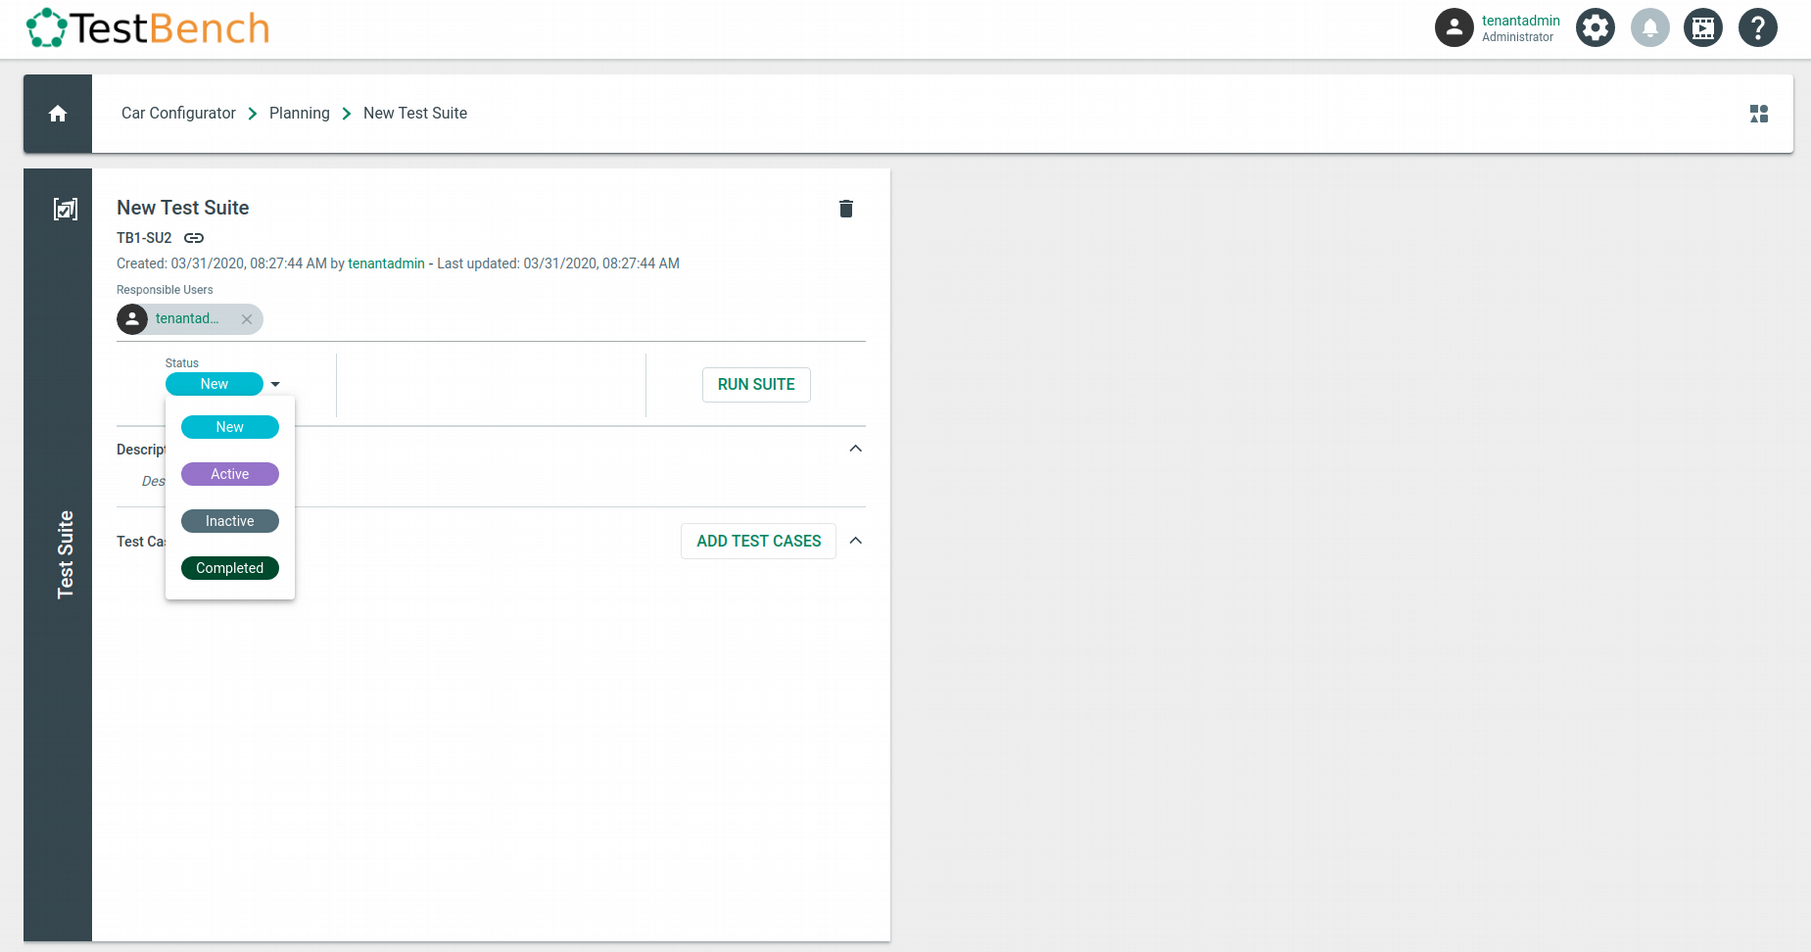
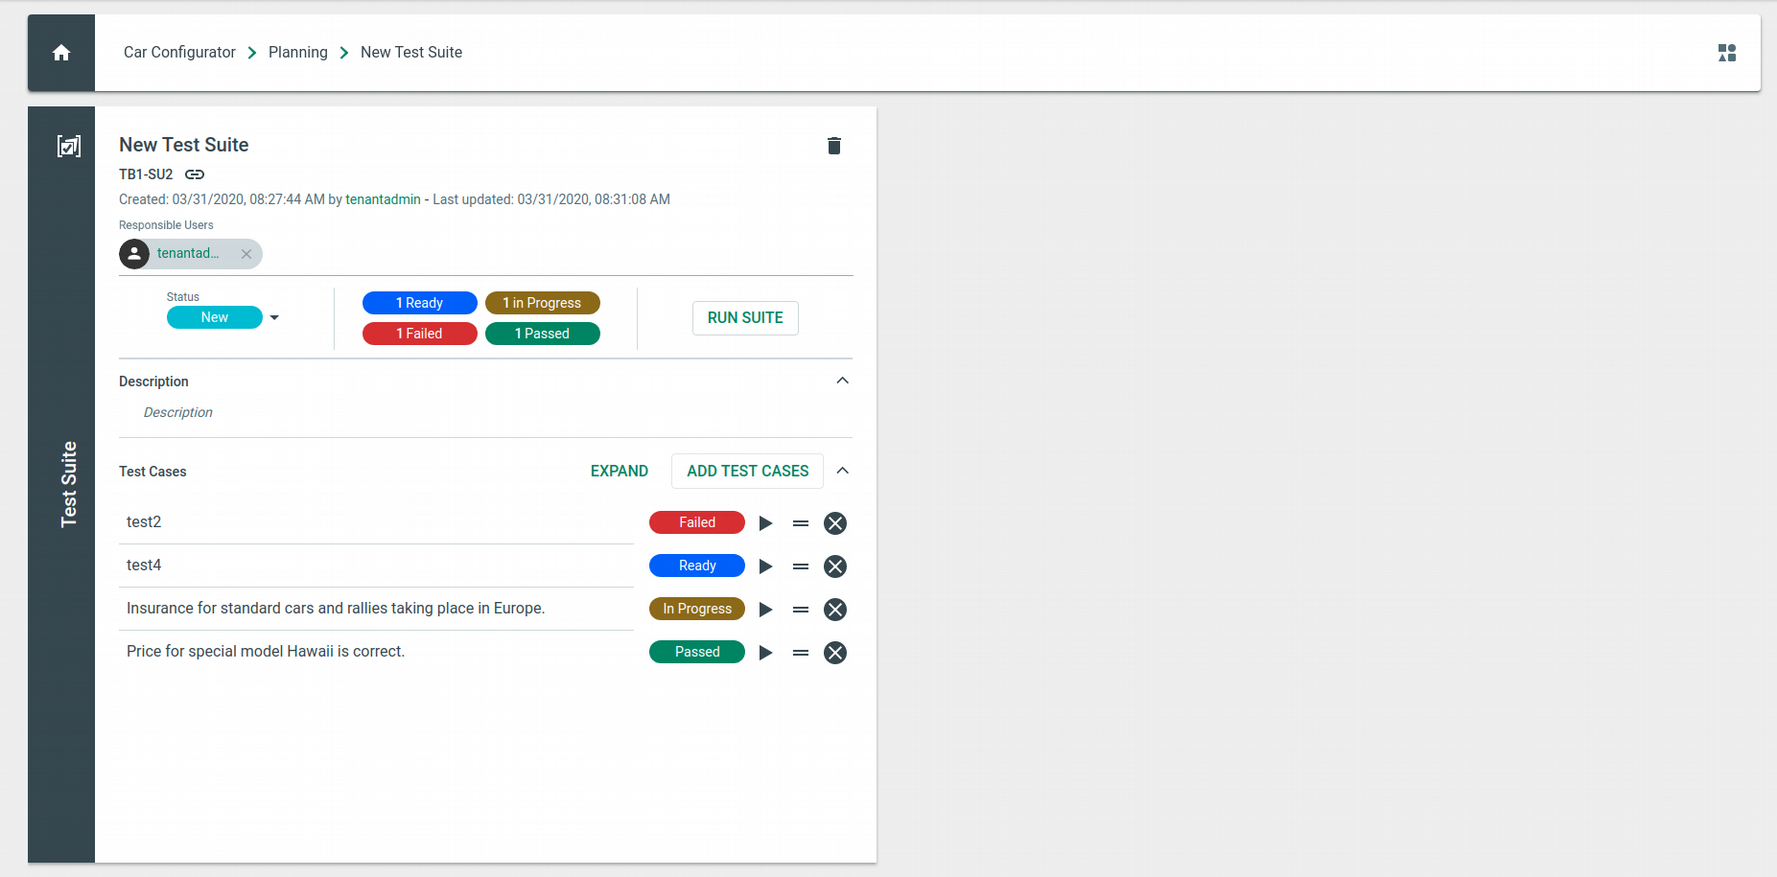
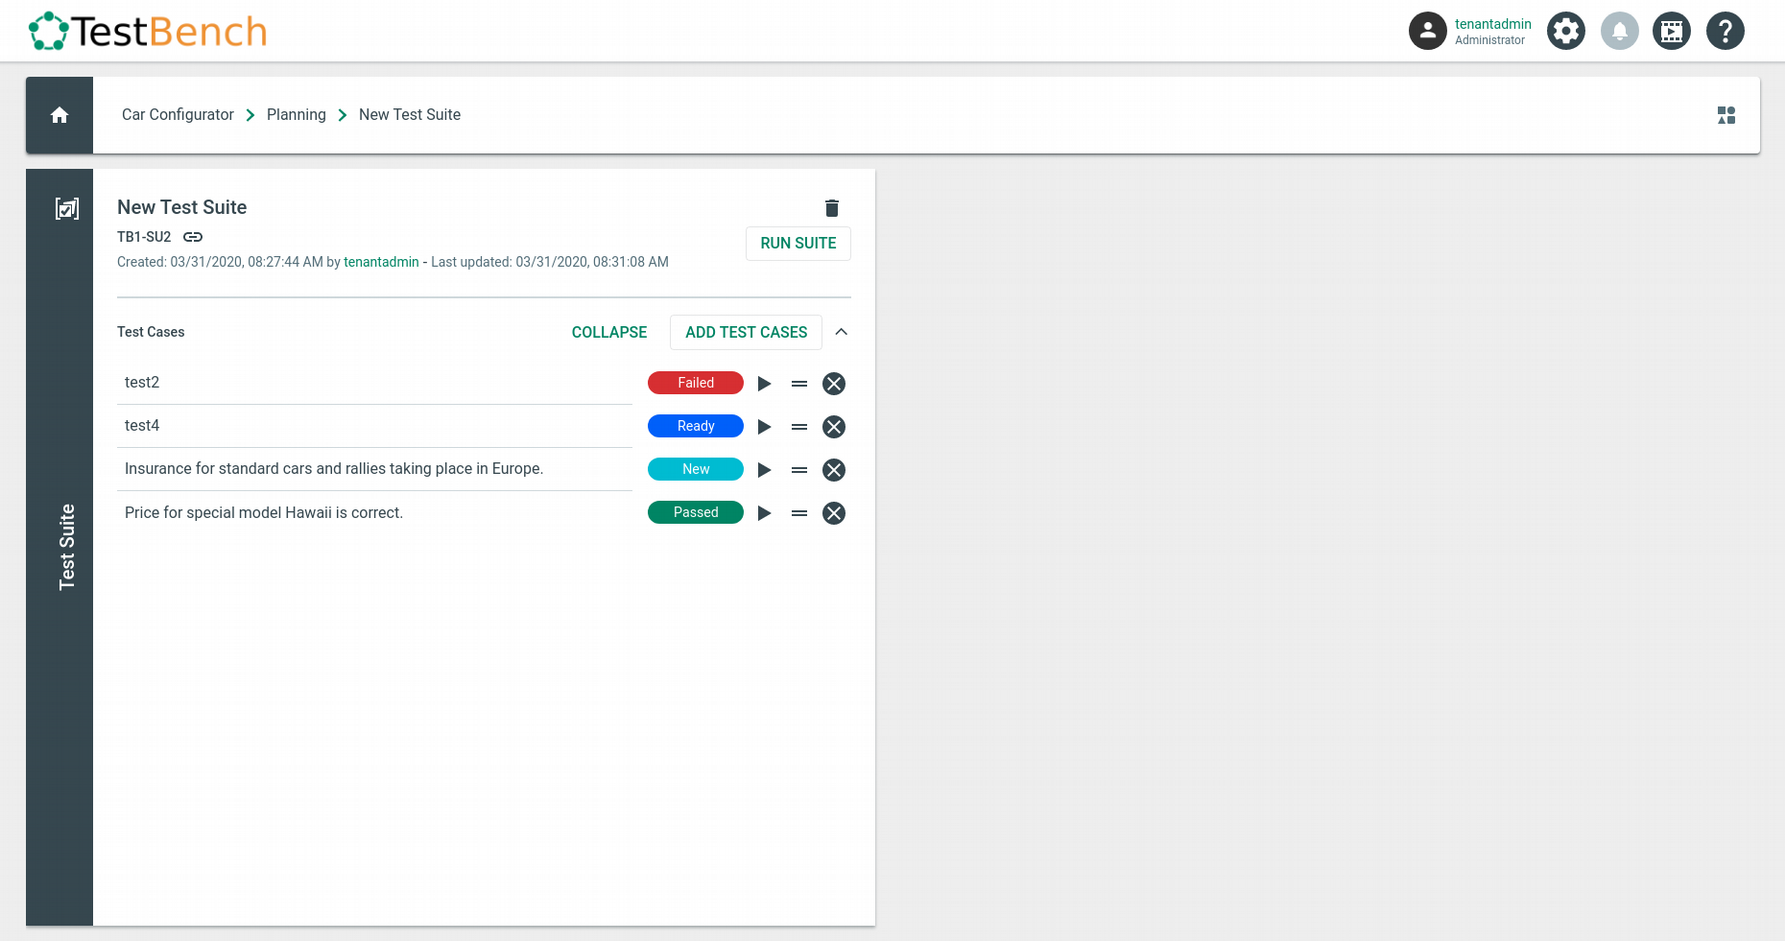
The middle column shows the status of the Test Cases as soon as you have assigned any. Status of a Test Case can be: Failed, Passed, In Progress, or Ready.
Description
Click on the edit icon or on the corresponding field to edit the description.
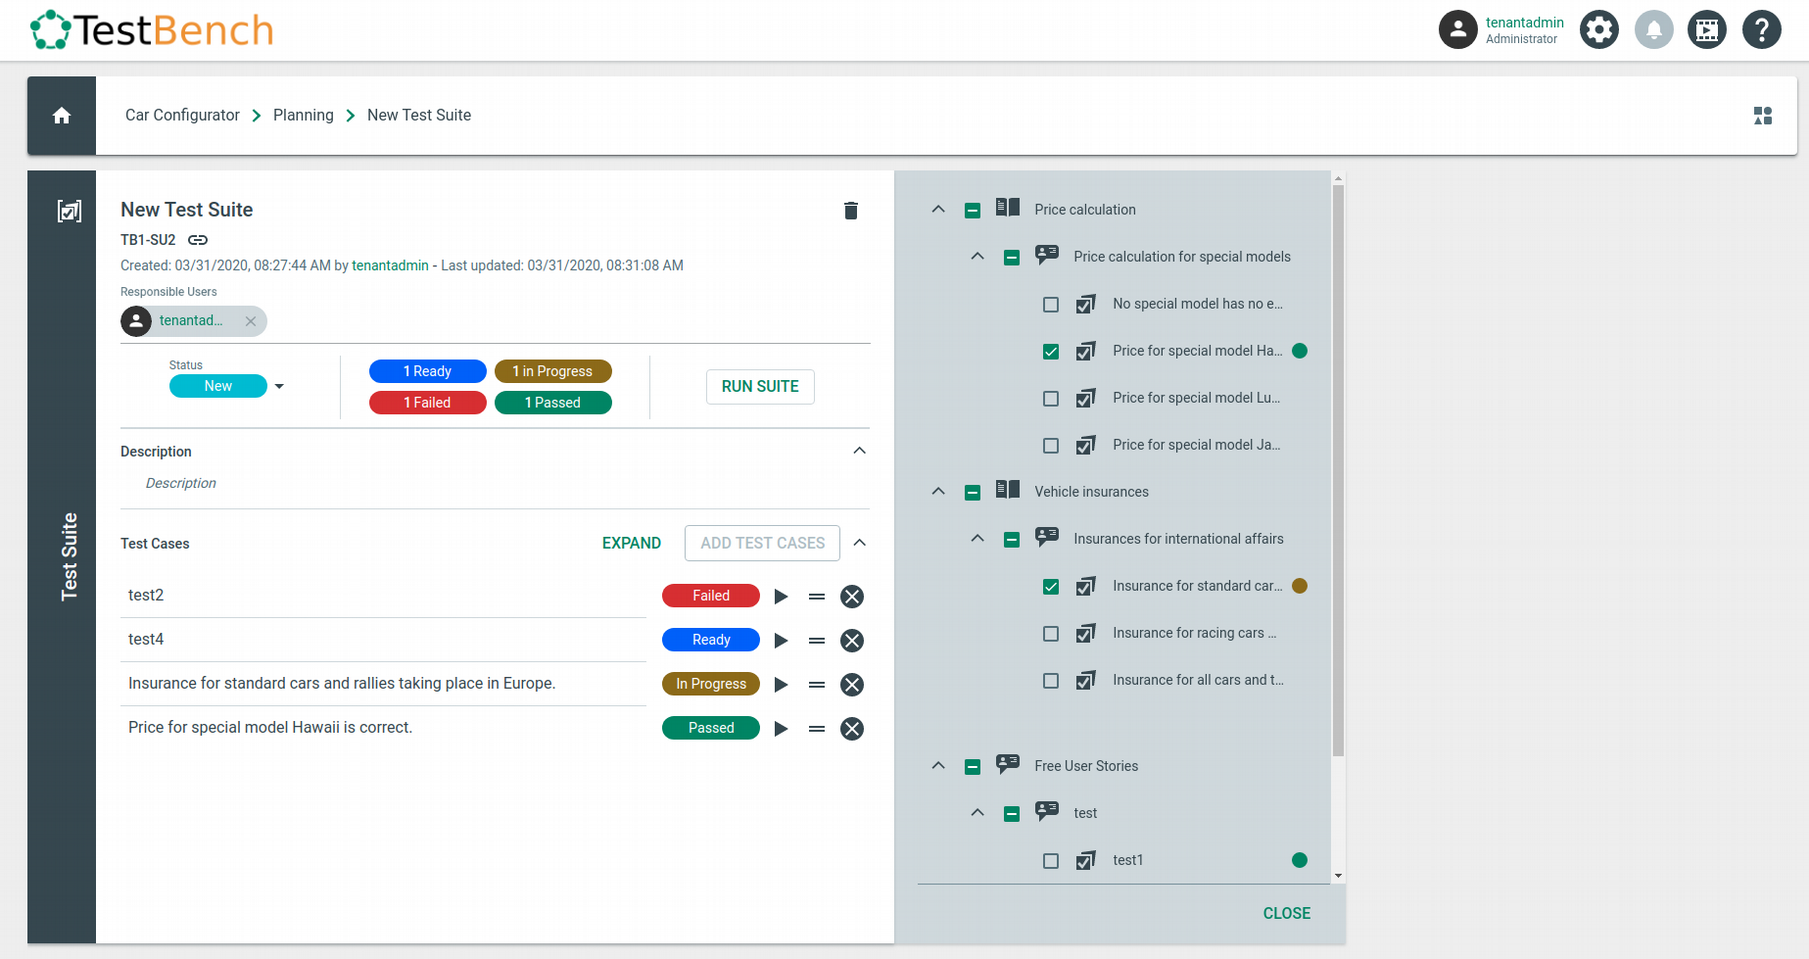
Test Cases
Here you can add Test Cases to the Test Suite by clicking “ADD TEST CASES”. A Tree View with all available Test Cases for that Product opens. Select one or more Test Cases by clicking the checkbox in front of the Test Case. You can also select a complete branch in the Tree View. If you do not want individual Test Cases in this branch to be part of the Test Suite, simply deactivate them by clicking the checkbox again.
To close the Tree View, click on the button “CLOSE” at the bottom. The selected Test Cases appear in the section “Test Cases”.
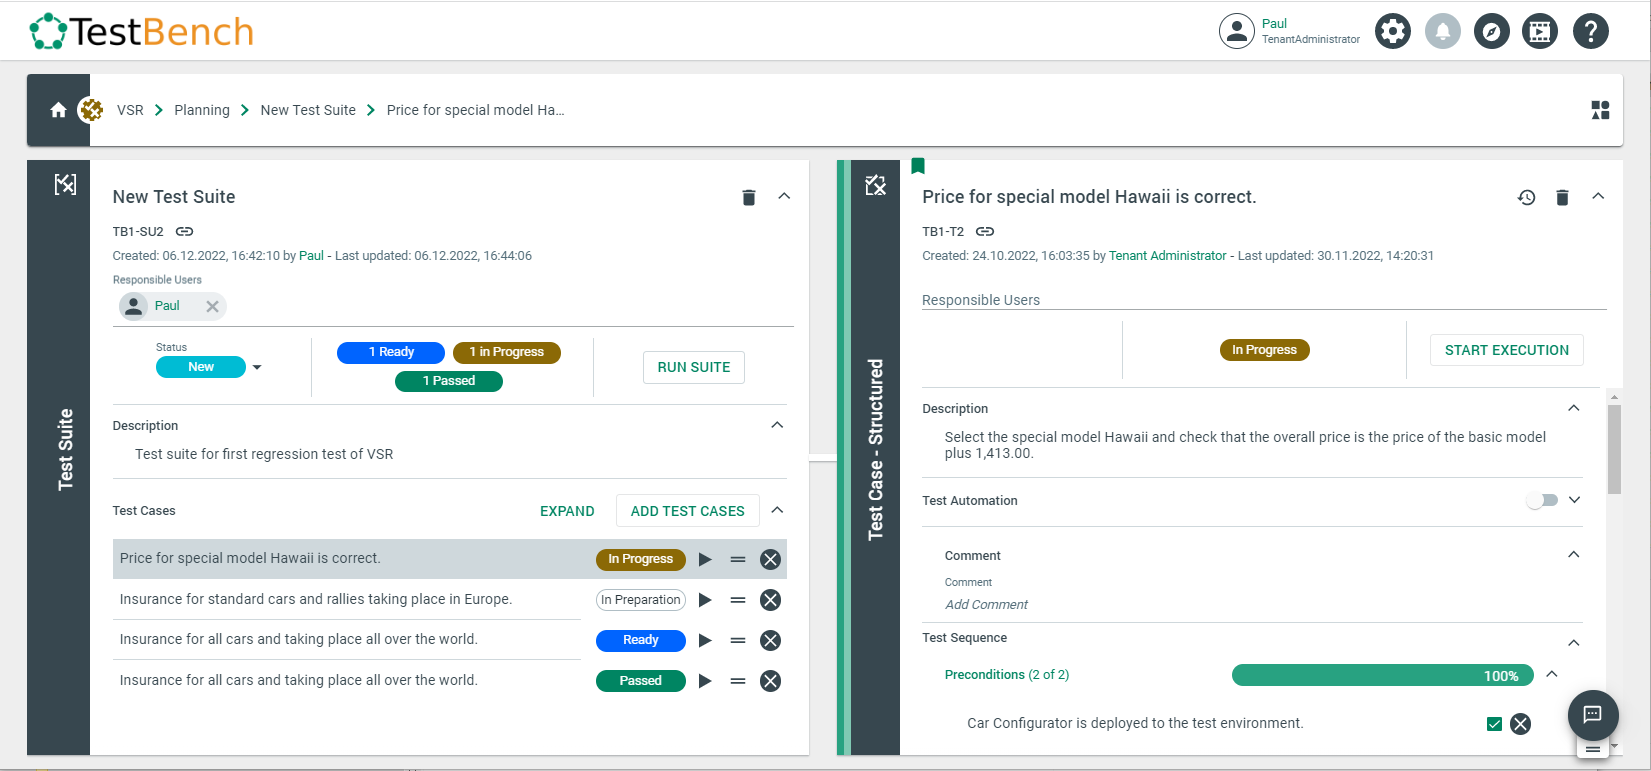
When you click on a Test Case, the detailed view opens. To start the execution of a single Test Case, click the play button next to the Test Case name. The detailed execution view opens.
If you want to open the test case in Specification View, just click on the ID of the test case: in the example beyond, the ID is "TB1-T2", below the title "Price for special model Hawaii is correct".
By clicking the "RUN SUITE" button, you start the execution of the Test Suite, which selects the Test Cases for execution one by one. So you do not need to run the Test Cases individually yourself. For a more detailed description, please see also How to execute Test Cases.
Test Case detailed view
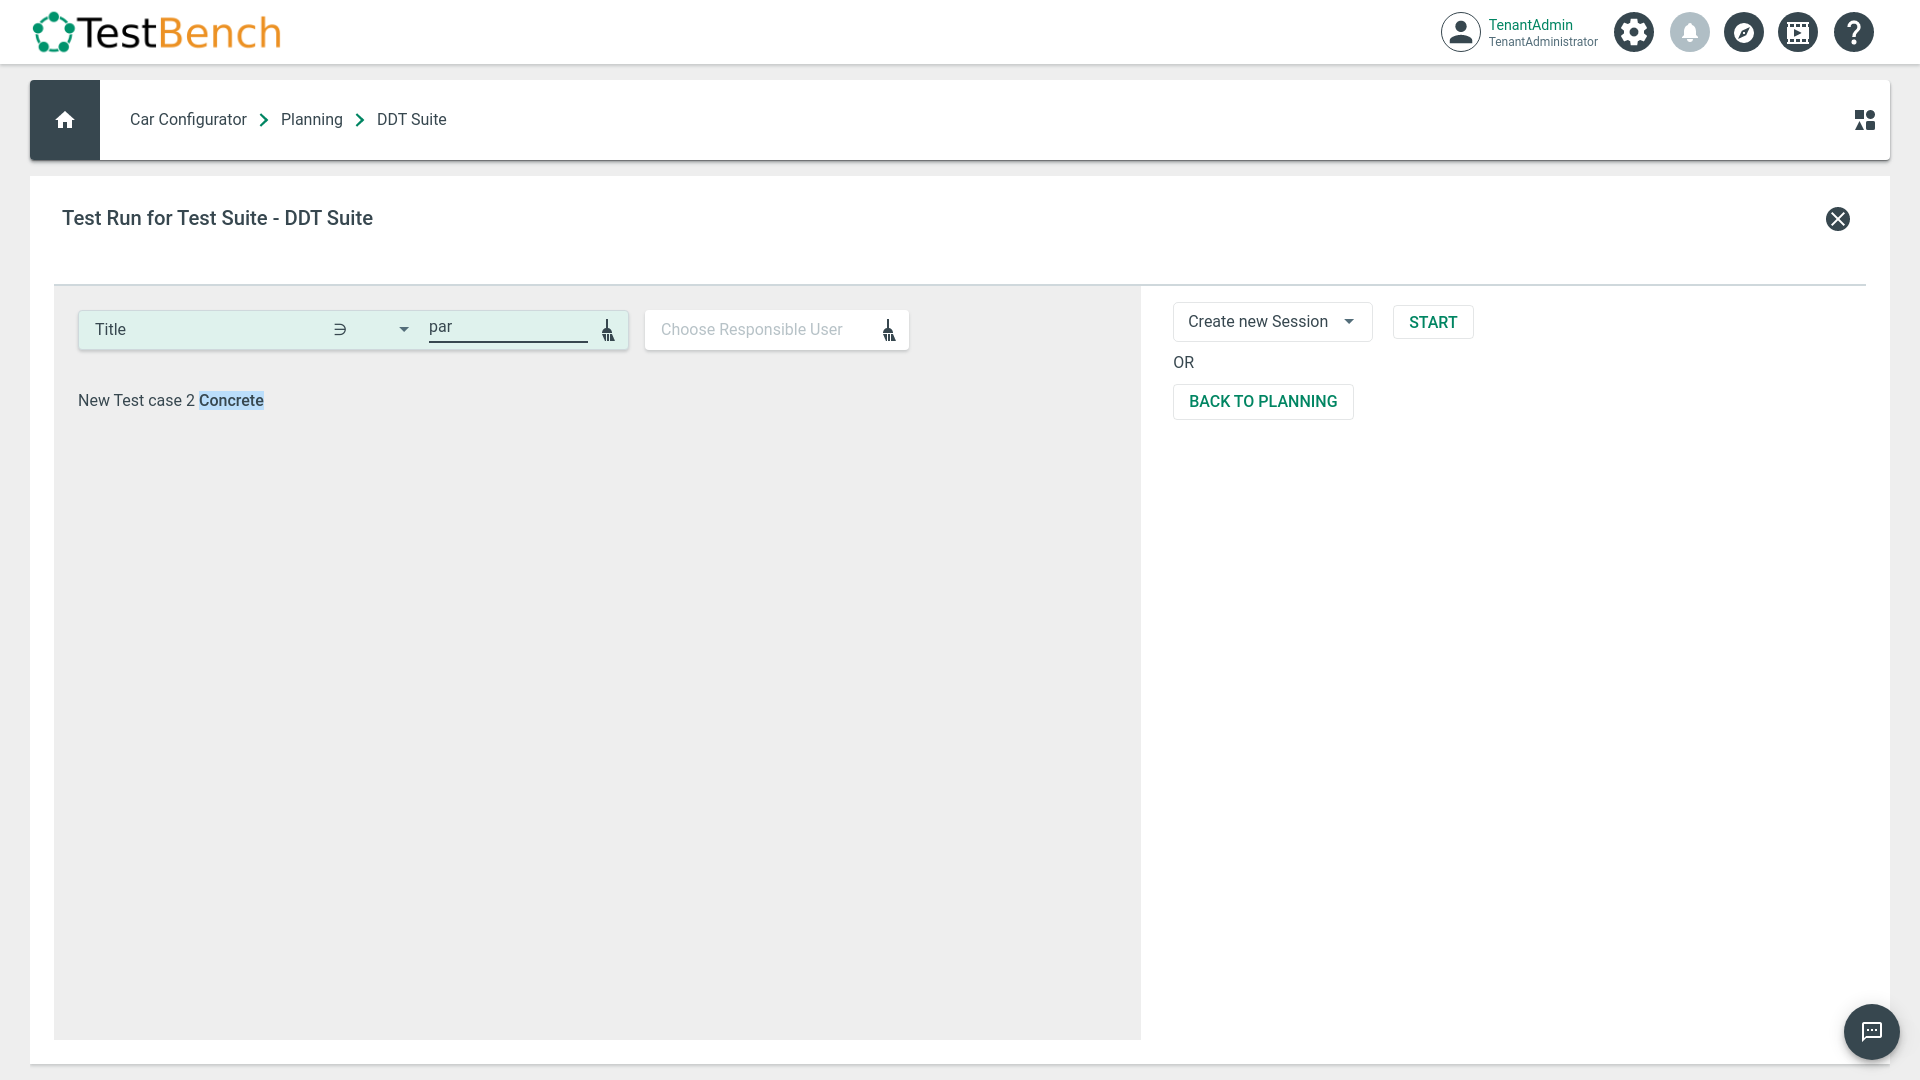
Then the Test Run View opens. Here you can use the filter option to execute only a subset of all Test Cases of your Test Suite. Concrete Test Cases can be filtered by "Title" + "Contains" + Parameter. A new Test Session for that subset of Test Cases is automatically created.
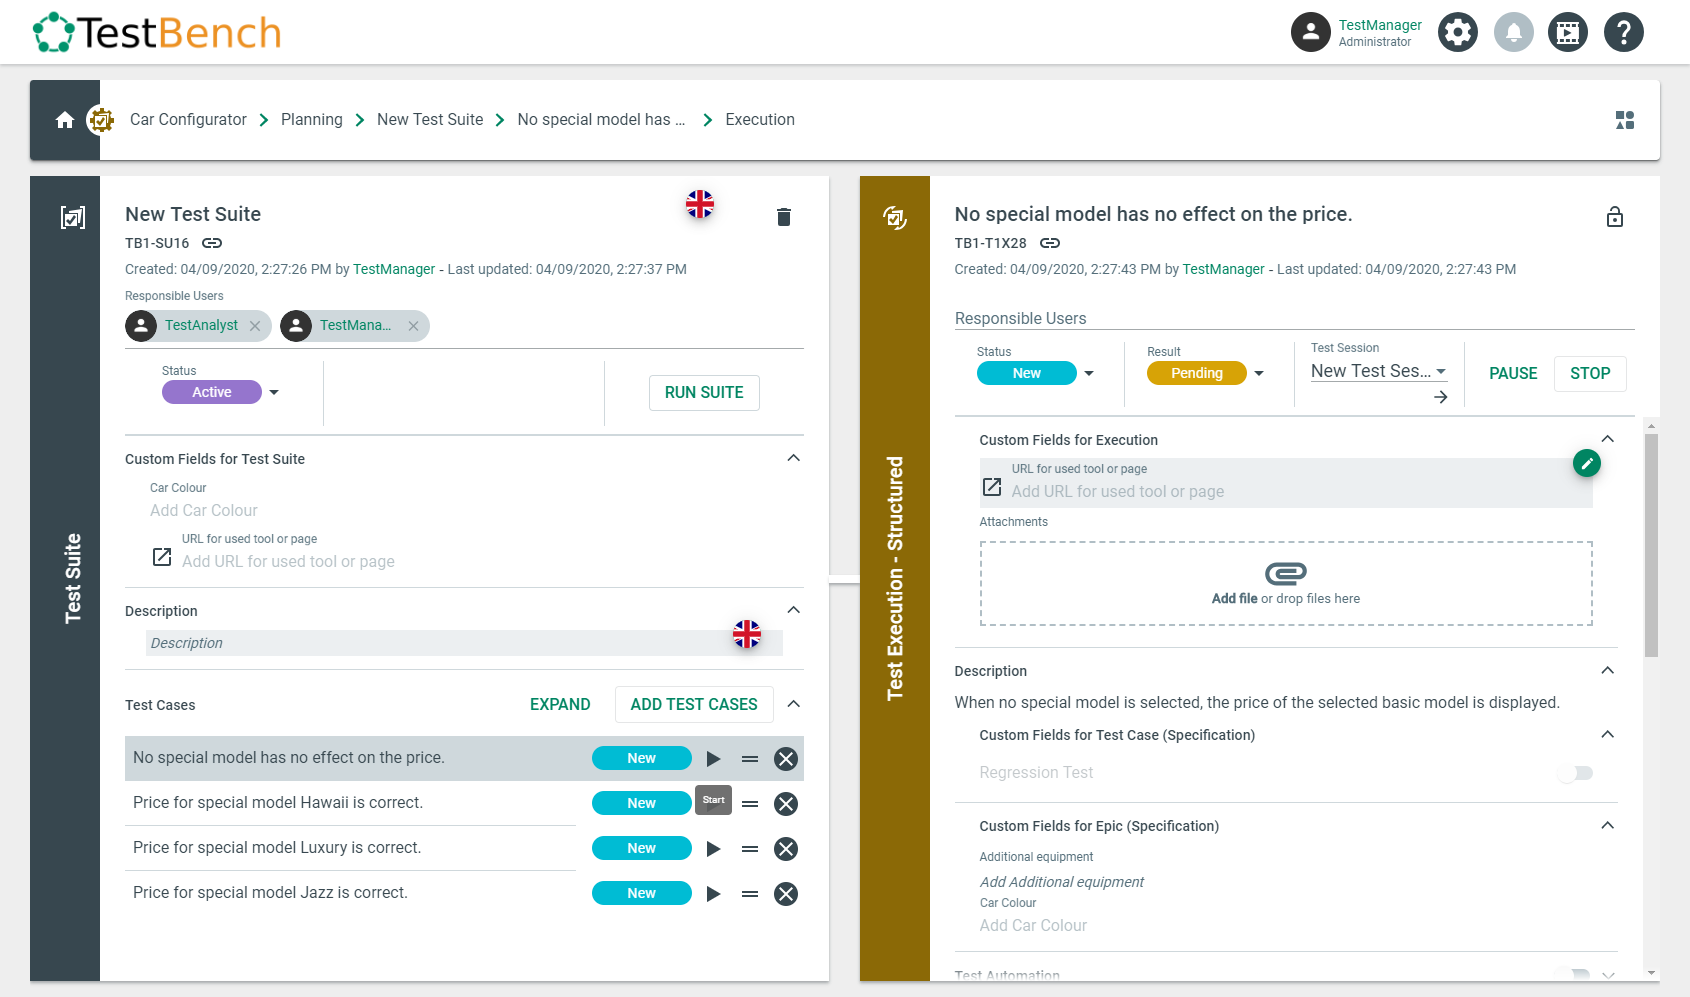 Test Execution detailed view
To remove a Test Case from a Test Suite, click on the X icon.
If you click the "EXPAND" button, you will see only the Test Cases area in an enlarged view. To get back to the full view of the Test Suite, click the “COLLAPSE” button.
You can insert Custom Fields to a Test Suite at the following positions: Before Description, Before Test Cases, and Bottom. For detailed information about Custom Fields, see chapter Custom Field Management.
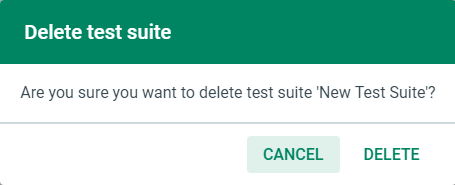
To delete a Test Suite, click on the trash can icon. A dialog opens, where you can confirm or cancel your action.